-
Get Start
Note: All software's have user name : admin and password : admin
Use default user name and password to log on to demo company
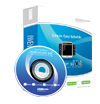
Insert the Software CD in the Drive and click on the required icons to install the software, finding difficulty check troubleshooting
A demo company has been provided to make it user friendly and for you to test the software we recommend you to login to the demo company and create, edit, modify data and get familiar with the software before creating a new company via Settings Menu.
Step one : Masters
Click on MASTERS Menu – Click Item or press the Enter Key. Enter the item name and related fields, leave the fields blank for which ever is not applicable and save the item. (Press F1 key to know more details in the fields in the item master)
Step Two : Transactions -Purchase
Go to Transactions menu, choose Purchase by clicking on it or pressing the Enter Key. Enter purchase invoice number and then choose the tax type (if not applicable choose “none”), choose Payment mode cash or credit (choose credit as a sample) then choose the supplier, in the supplier window if suppliers are not there to ADD a new supplier press F3 and to Edit a existing one F4. Press F3 create a supplier and save the supplier and close the window. Then go to item code choose the item from the item window (item which we have already created) enter the quantity, rate and other appropriate fields and press SAVE
Step Three : Transactions-Sale
Entering the sales, go to transactions, choose SALES and start entering the sales, choose appropriate fields as required, create and choose the customer if it's a credit Sale. If it is CASH sales leave the customer column blank. Enter the qty and rate if Rate column is not editable, go to application settings and enable it. Below choose the default invoice scheme to print (windows for windows A4 size prints and the other for DMP printing). To set the bill formats can be set as per user choice – Press F1 to view help
Step Four : Reports
To View reports of STOCK go to Reports Menu and then take Stock Reports, to view Sales Report go to Sales Reports, to view Purchase Reports – got to Reports Menu and take Purchase reports. Other reports are also available in the same menu.
Step Five
User Settings and passwords are available in the respective menus.
Step Six
Backup & Restore to take daily backup of the data. Default folder is provided you can change the location to the required path of the Drive, to restore the Backup choose the backup from the folder and click ok, it will start restoring the backup data. -
-

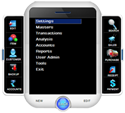
 GST EnabledInventory and Accounting SoftwareINVENTORY BIZ5 Different series for in Inventory biz Software.

-
 POWERFULL
SOFTWAREPowerfull Features.
More than 150 Reports.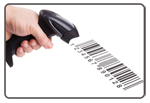
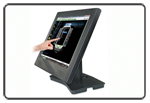
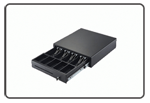
-
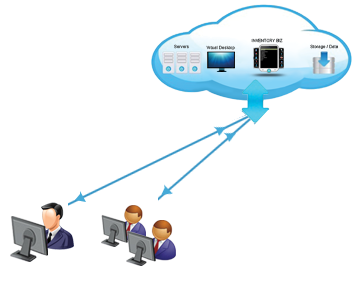
 InventoryBiz ERP 4.5 Synchronization versionOnline Offline Synchronized Accounting Inventory SoftwareProvides Real time solution in managing Head office and multiple branchescentralized management of Businessseamless software functioning regardless of internet connection speedSoftware will automatically exchange data when internet is availableBranch software will function even if the internet connection is downHead office can fix price settings of branchesHassle free business Management from anywhere in the worldMonitor profit and loss of each branches separatelyHead office can have 100 branches if it is in multiple databaseBranch can create Customers masters if internet is availableHead office can monitor the activities of branchEach Branch Server can handle up to 25 Client systemsHead office can have 20 Branches in single Database


-
 DEVICE
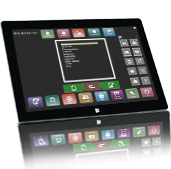
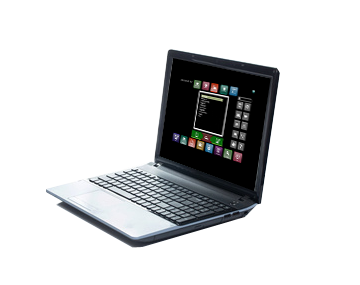
COMPATIBLEInventorybiz work on
Desktop, Laptop, Tablet & Mobile.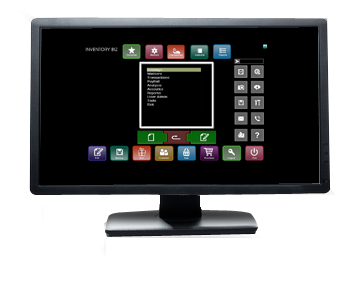

Beginners
Other Pages
Products
Get in touch
- Address: ALBICO Building, Sakthikulangara, Kollam-691581, Kerala, INDIA
- Contact Us
-
Support: + 91-9847850030/32,
9744744440,7293000015
WhatsApp:9847850030 - Instagram:dcsinfoway
- Email: support@dcsinfoway.com
- Marketing
- Mobile: + 91-9847850031, + 91-9495467707
- Email: sales@dcsinfoway.com Contact Us
